How a synthetic treatment is reinvigorating some of Centre Block’s original residents

In February 2019, the Senate moved to the Senate of Canada Building, a former train station built in 1912. The Senate will occupy this temporary location while Parliament’s Centre Block — the Senate’s permanent home — is rehabilitated.
Although Centre Block is shuttered for rehabilitation work, Canadians can still experience its art and architecture through the Senate’s immersive virtual tour.

If you’re one of the dozens of century-old plaster figures in Centre Block, the experience must seem like a day at the spa — the promise of a new lease on life, courtesy of a complete facial mask-and-peel treatment.
In fact, the procedure is simple due diligence, according to Kate Westbury, Heritage Lead for the Centre Block Rehabilitation Program at Public Services and Procurement Canada.

Precautions are being taken to preserve the venerable company of characters in the Senate Speaker’s chambers, crafted in the 1920s, as part of the rehabilitation of Centre Block — the biggest heritage restoration project in Canada’s history.
“The aim is to have a detailed heritage record of each decorative fixture before construction gets underway,” Ms. Westbury said. “We want to be able to recreate any plaster element in the building if required.”
Taking pains to protect parliamentary treasures

As part of the mammoth rehabilitation project, every fixture in Centre Block — whether stone, wood, iron or plaster — was captured with high-resolution scanning equipment before construction got underway.
When it comes to these plaster ornaments, however, conservators have taken the process to the next level.
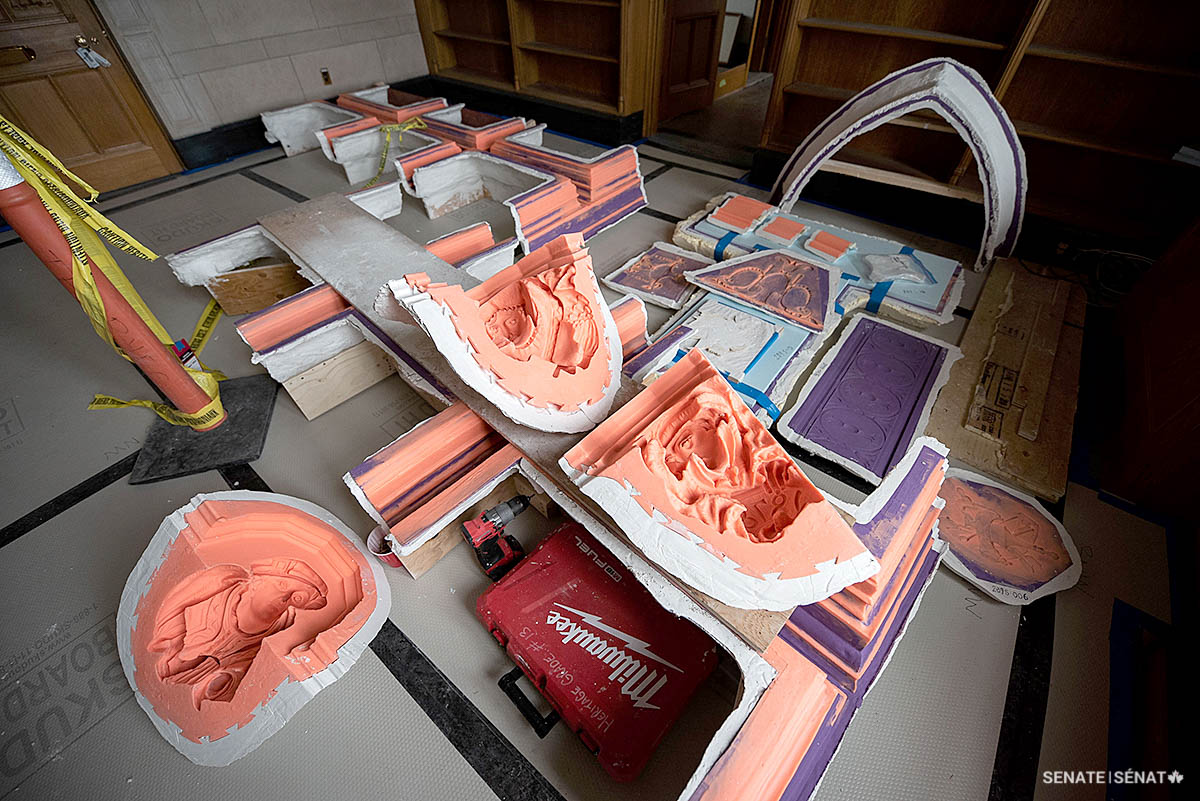
Experts with City Plastering, an Ottawa company that specializes in restoring heritage plaster work, are making synthetic moulds so each ornament can be repaired easily or recast entirely if it suffers any damage during the course of renovations.

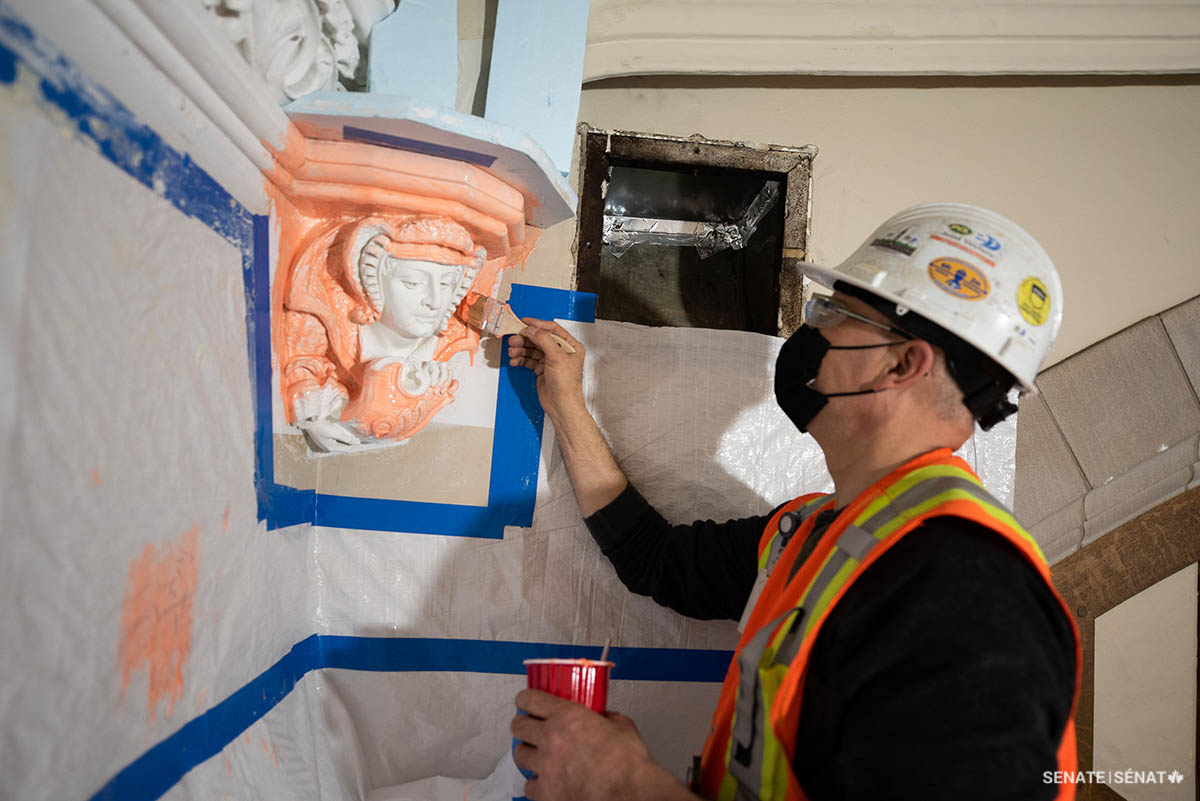
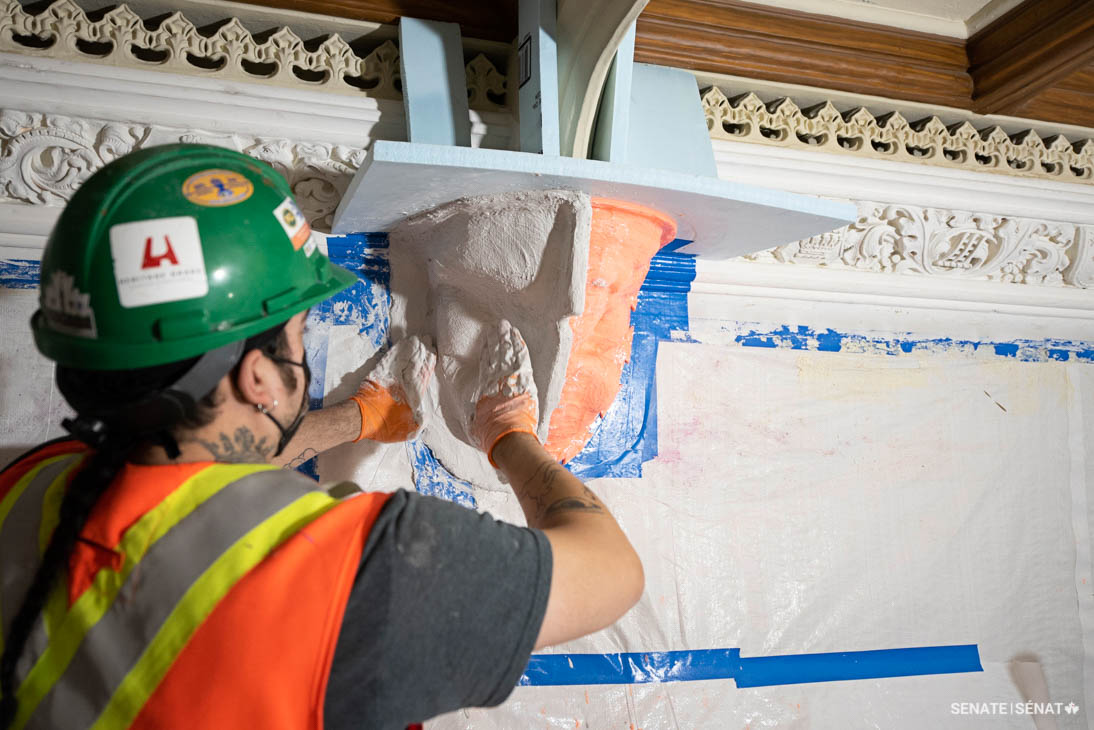
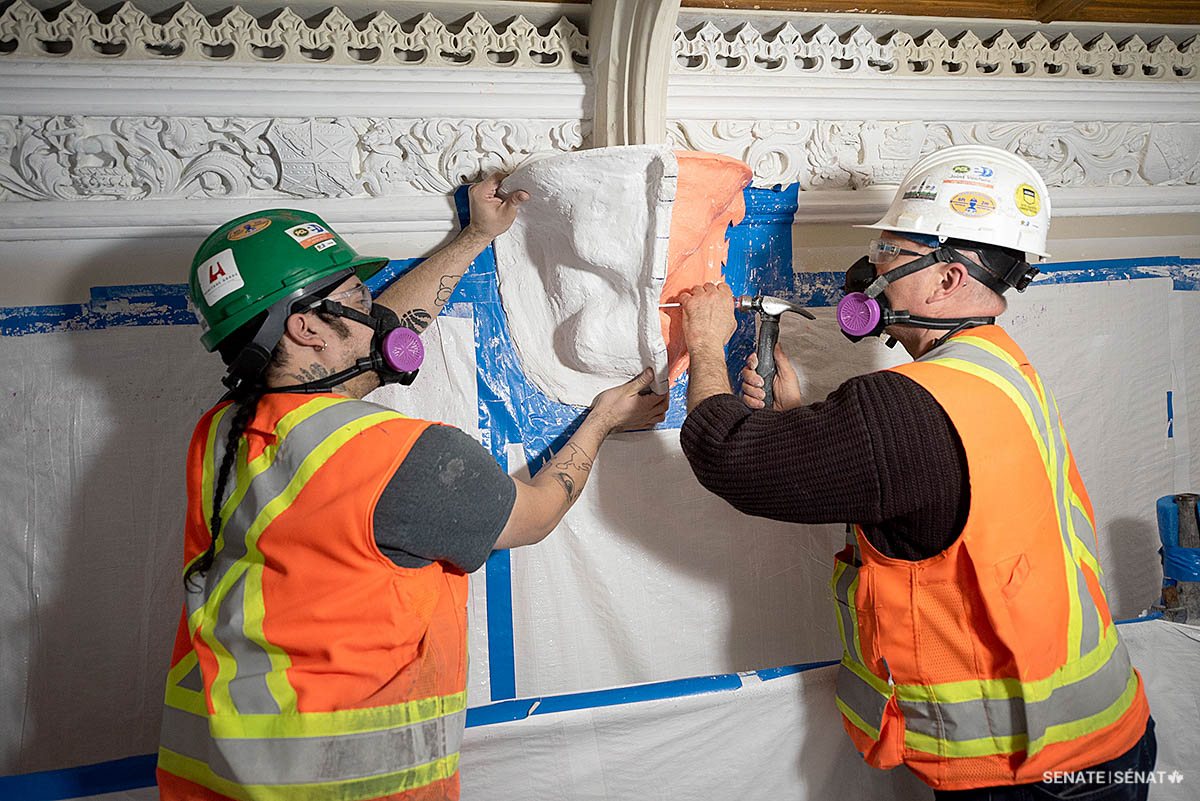
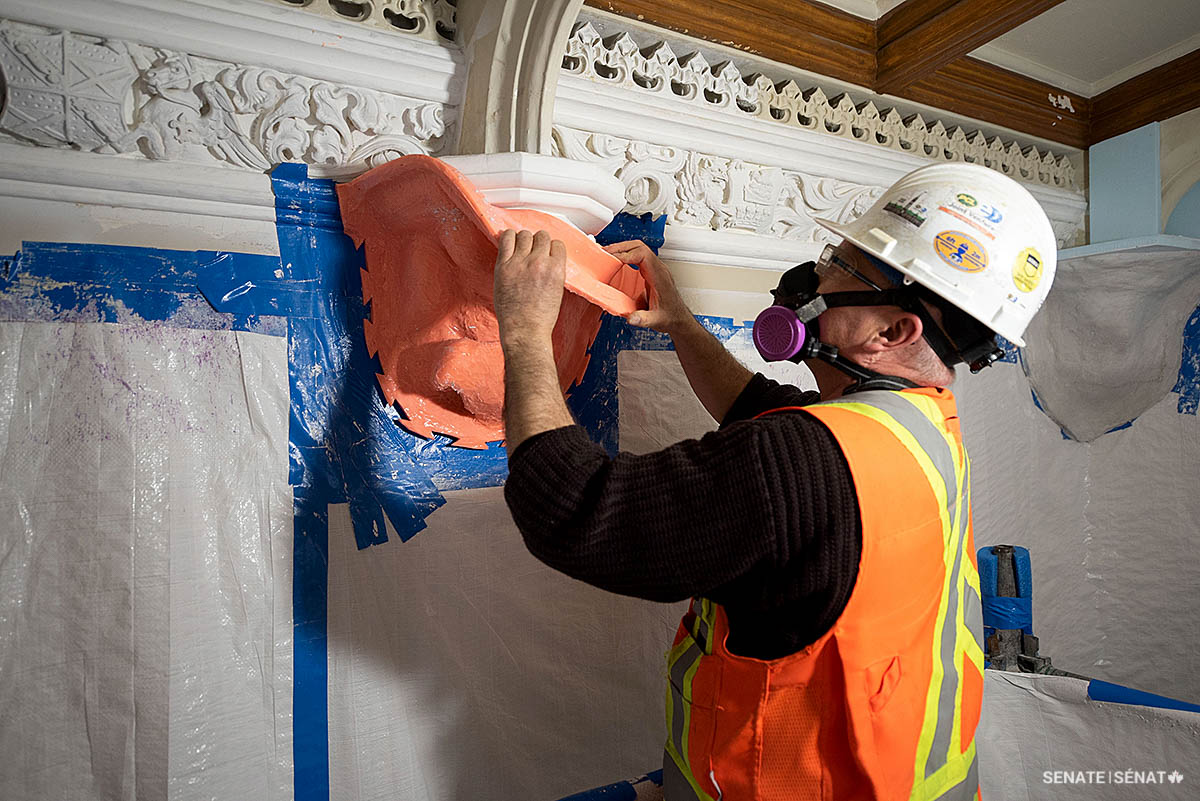
The conservators build up each mould by applying liquid silicone to the sculptures. The flexible silicone is reinforced with several layers of plaster, which hardens to form a rigid casing. Cradled within is an exact negative of the original. These moulds go into storage at a Public Services and Procurement warehouse in Gatineau, where they can be retrieved, if needed.
It’s demanding work, Ms. Westbury explained. “You’re working on scaffolding, you’re working on ceilings, you’re working overhead. You’re often working in really tight spaces.”

The Senate Speaker’s chambers are jewels of 1920s Gothic Revival elegance. Modelled on the great hall of a 16th-century Tudor manor house, the suite features intricate oak, limestone and plaster ornaments, including these 32 plaster figures. Its dining room, pictured here, has hosted presidents, prime ministers, potentates and Nobel laureates.
A motley medley of merrymakers

One glimpse at these 100-year-old treasures and you understand why such care is going into capturing them.
This retinue of 32 Shakespearean-era courtiers — jesters, ladies-in-waiting, troubadours and knights — embellish the cornices in three adjacent rooms. They were crafted in the early 1920s by parliamentary sculptors working under the supervision of Walter Allen, foreman of Parliament’s modelling and carving shop between 1916 and 1924.
“These remarkable sculptures remind us of the hundreds of years of tradition underlying our parliamentary institutions,” said Senate Speaker George J. Furey.

“It’s fitting that we treat them with such care and reverence.”
Modelled initially in clay, then cast in plaster of Paris, the pieces would have been created off site before being installed in the Speaker’s chambers. Once anchored in place, they would have been touched up with fresh plaster to blend them seamlessly into their surroundings.
Nearly a hundred years later, the process is being repeated in reverse — essentially recreating the original moulds from the fixtures on the walls.
Here’s a step-by-step look at the process: